How To Set Up A Facebook Ads Account
Social Media Marketing is a great way to get more leads and listings. In this training, we’ll show you how to set up your Facebook and Instagram accounts to run ads and how to set up your Ad Account. After your accounts are set up, it is vitally important to run marketing campaigns to the proper audience. In Step 3, we’ll walk you through exactly how to build your custom audiences.
Once you learn how to create custom audiences be sure to check out our additional training course focusing specifically on Creating Facebook Brand Awareness Campaigns and Niche-Specific Conversion Ads
Before you can start running marketing campaigns on your social media pages, you need to make sure both your Facebook and Instagram accounts are set up correctly and connected to one another.
Step 1: Create A Facebook Business Page
If you already have a Facebook page for your business, you can skip to Step 2. If not, complete the steps below.
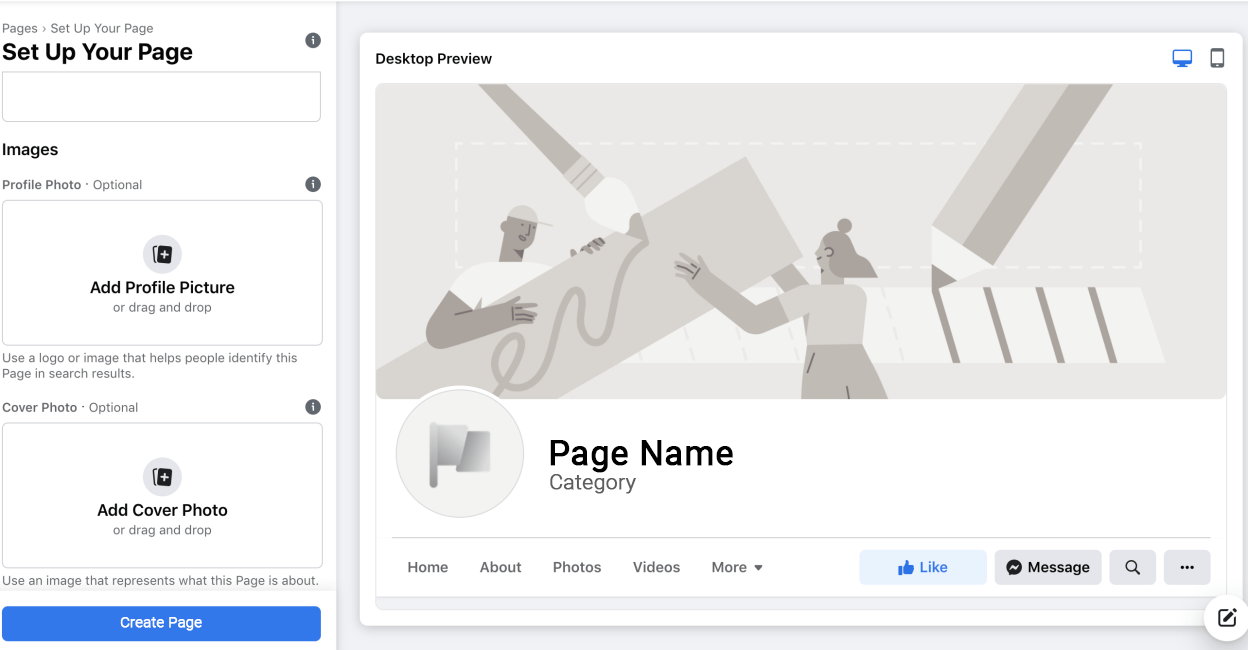
Login into Facebook. Then, open the Create a Page builder.
Enter your page name. Most people name it “John Doe Realtor” or something like that. That’s what I recommend. Other people name it something like “City Real Estate”, “Great City Homes”, etc.
Select the Category as “Real Estate Agent”, “Real Estate”, or “Real Estate Company.
Enter your description. Here is an example: “John Doe is a Real Estate Agent in Anytown US. He works at ABC Realty and specializes in helping buyers and sellers navigate the process to reach their goals.”
Upload your profile picture (this should be the headshot image you use professionally).
Add a cover photo. This can be a picture of you in front of a house, a picture of a home you’ve listed, a local landmark, or a map of your area.
Hit submit to create your page.
Go to the “About” section and update your information. You’ll want to add your phone number, website (if applicable), Business Hours, etc.

Step 2: Make Your Instagram Account A “Professional Account”
Follow the steps in the video above to make sure your Instagram account is set to “Professional”
Step 3: Connecting Your Instagram Account To Your Facebook Page
In order to cross-post your ads between Instagram and Facebook, you need to make sure your Instagram is connected to your Facebook Business Page.
Follow the steps below or watch the video above.
Log into your Facebook Business Page
Click on the Settings option along the left-hand side
Locate the Instagram option and click that
Click “Connect Account”, it will show a pop-up where you should log in to the Instagram account you want to be connected.
Once you log into the desired Instagram Account, the connection will be made
First, log in to your Facebook account.
Click on the link below to visit the Facebook Ads Manager
If you’ve already set up an Ads Manager, you’ll be brought to your Ads Manager Dashboard and you can move to the next step.
If you haven’t set it up yet, simply follow the steps below to set up your Facebook Ads Manager,
Make sure you have a Facebook Business Page. Once you create a Page, you’ll automatically have an Ads Manager account.
View your ad account settings to confirm your account information
Sphere Of Influence Audience
The first custom audience you can create is from your Sphere of Influence. Anyone already on your contact list is a great candidate to be added to this audience.
In the video below, Charles shows you how to create a .csv file with your contacts information.
Once you have created the .csv file containing your Sphere of Influence contact list, it is time to upload that to Facebook.
Website Visitors Audience
This list is comprised of an audience based on those who visited your website.
Step 1: First and most importantly, you will need to set up a Facebook Tracking Pixel. Follow the instructions on the video below to acquire your pixel code.
Step 2: Enter your Facebook Pixel into this form and our team will add it to your website to start gathering contacts for your audience.
Step 3: Create a Website Custom Audience. Follow the instructions in the video below to set that up.
Video View Custom Audience
This list is created using a custom audience based on those who viewed your videos. If you have not already created and uploaded social media videos be sure to check out our Monthly Social Media Content Templates and Niche-Specific Conversion Ad Templates
To create your own custom video audience follow the steps in the video below
Recap of steps:
From your Facebook Ads Manager go to Audiences
Create a new Custom Audience
Under Meta Sources, pick Video
Choose the Engagement Type, we suggest People Who Have Watched 25% of Your Video
Click Choose Video and select the desired video to use in the campaign
Choose your desired Retention Time, we suggest keeping it at 365 Days
Name your audience
Click Create Audience


